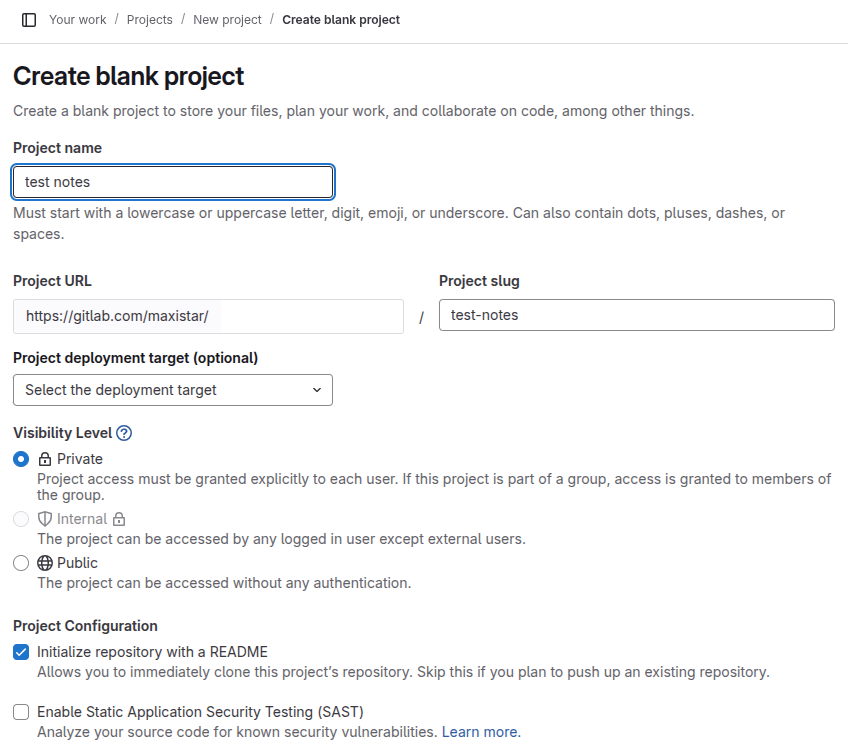
Creating a Private Repository
- Go to GitLab and sign in to your account
- Click the ”+” button in the top navigation bar and select “New project”
- Enter your project name and description
- Select “Private” under “Visibility Level”
- Click “Create project”
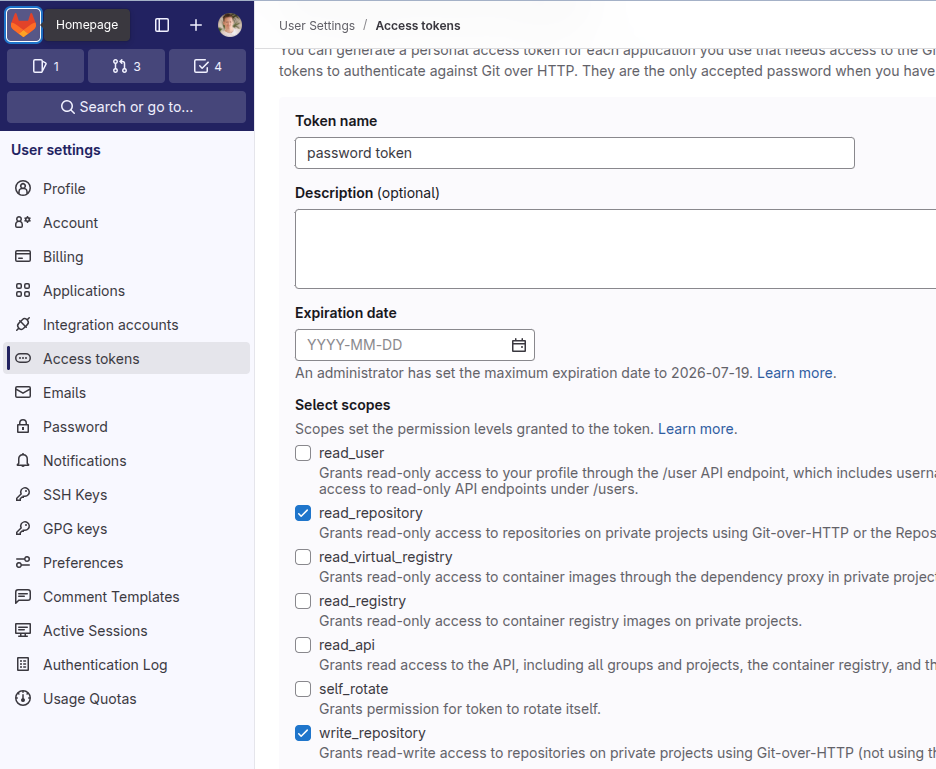
Setting Up HTTPS Access
- Generate a Personal Access Token:
- Click on your profile picture in the top right
- Go to “Preferences”
- In the left sidebar, click “Access Tokens”
- Enter a name for the token (e.g., “HTTPS Access”)
- Select “read_repository” and “write_repository” scopes
- Click “Create personal access token”
- Copy the generated token immediately (you won’t be able to see it again)
-
Using the token for HTTPS access:
- When cloning or pushing to your repository, use this format:
https://gitlab.com/YOUR_USERNAME/YOUR_PROJECT.git
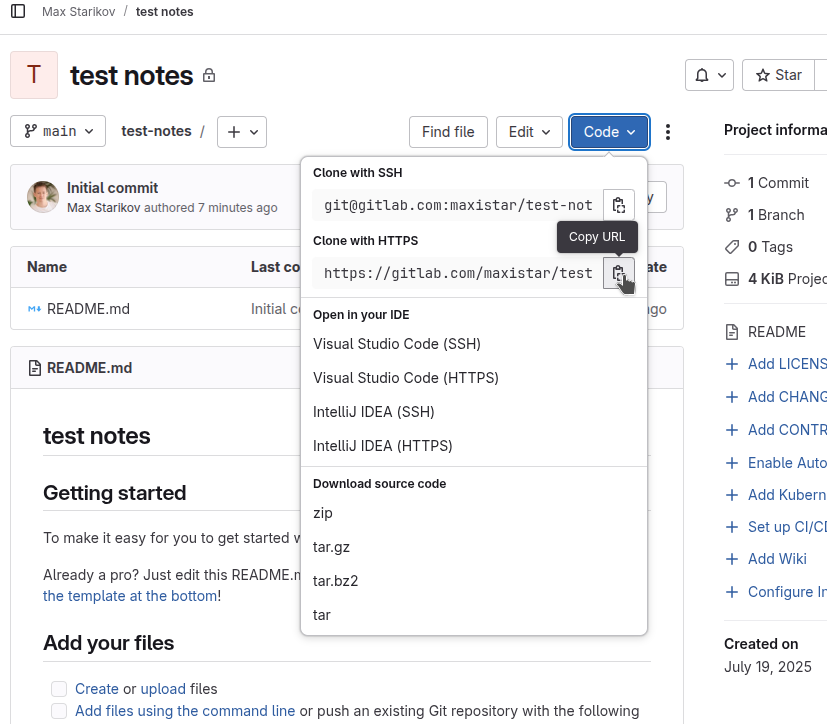
- Replace:
YOUR_USERNAMEwith your GitLab usernameYOUR_PROJECTwith your project name
Important Notes
- Keep your Personal Access Token secure and never share it
- The token has access to your repositories based on the scopes you selected
- You can revoke tokens at any time in your GitLab settings if needed
- Consider using a password manager to store your token securely
- GitLab tokens expire after 1 year by default
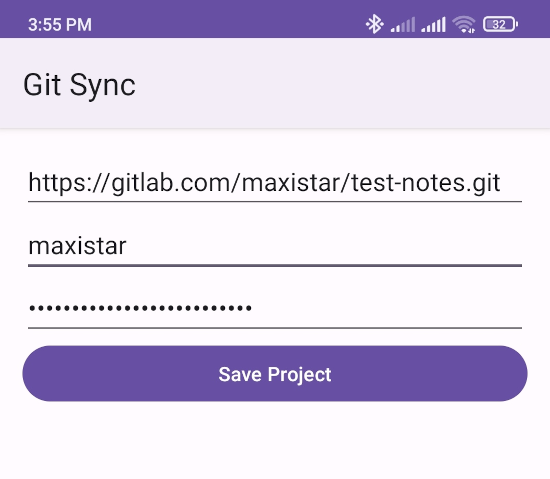
Example Commands
- Clone a repository:
git clone https://YOUR_USERNAME:YOUR_TOKEN@gitlab.com/YOUR_USERNAME/YOUR_PROJECT.git- Push to a repository:
git push https://YOUR_USERNAME:YOUR_TOKEN@gitlab.com/YOUR_USERNAME/YOUR_PROJECT.git